Sunday, November 27, 2016

Barbie Furniture Booklets from the 90's

These little booklets were included with Barbie furniture. They are a good reference guide for collectors :)


Monday, November 14, 2016

Beautiful Fabrics and Dresses

The ol' sewing machine has been going overtime! That's what happens after a trip to 'Spotlight' where ones eyes boggle at all the beautiful fabrics.


This is my "Country Rose" outfit
To make this dress, I have mixed and match two patterns, The bodice pattern is from Sewing and Pattern


To make the bodice for my dress I cut this pattern down where I have marked with red lines.


To make the skirt I used Aileen's Petite Fashions Fancy Free Skirt and added 6" to it. You can find the pattern here: Fancy Free Skirt


Rockabilly Rockin

I have always wanted to make rockabilly style clothing so who better to make it for the Barbie!


This is "Hearts Out to Rockabilly"
To make this dress I used this pattern for the bodice Sweetheart Dress You may need to enlarge the pattern to fit Barbie.

To make the skirt I used the skirt pattern from Fancy Free Skirt and extended the pattern to 15'. I then divided the pattern into 5 sections, each section measuring 3".


To sew this skirt I followed the instructions from The Peggy Skirt


Putting a Lid On It

Hats can be very tricky to make mainly because its fiddly work!  However, hats can be simple to make also with a few bits and bobs that you are most likely to find laying around the house.

I made the following hat using a milk bottle top for the center piece and a bit of cardboard for the brim.


The pattern for this hat came from : Vintage Clothes for the Fashion Doll I only used the brim, not the center piece.

This pattern is meant to be cut out of material and sewn. I thought I would be different and make mine from other resources.

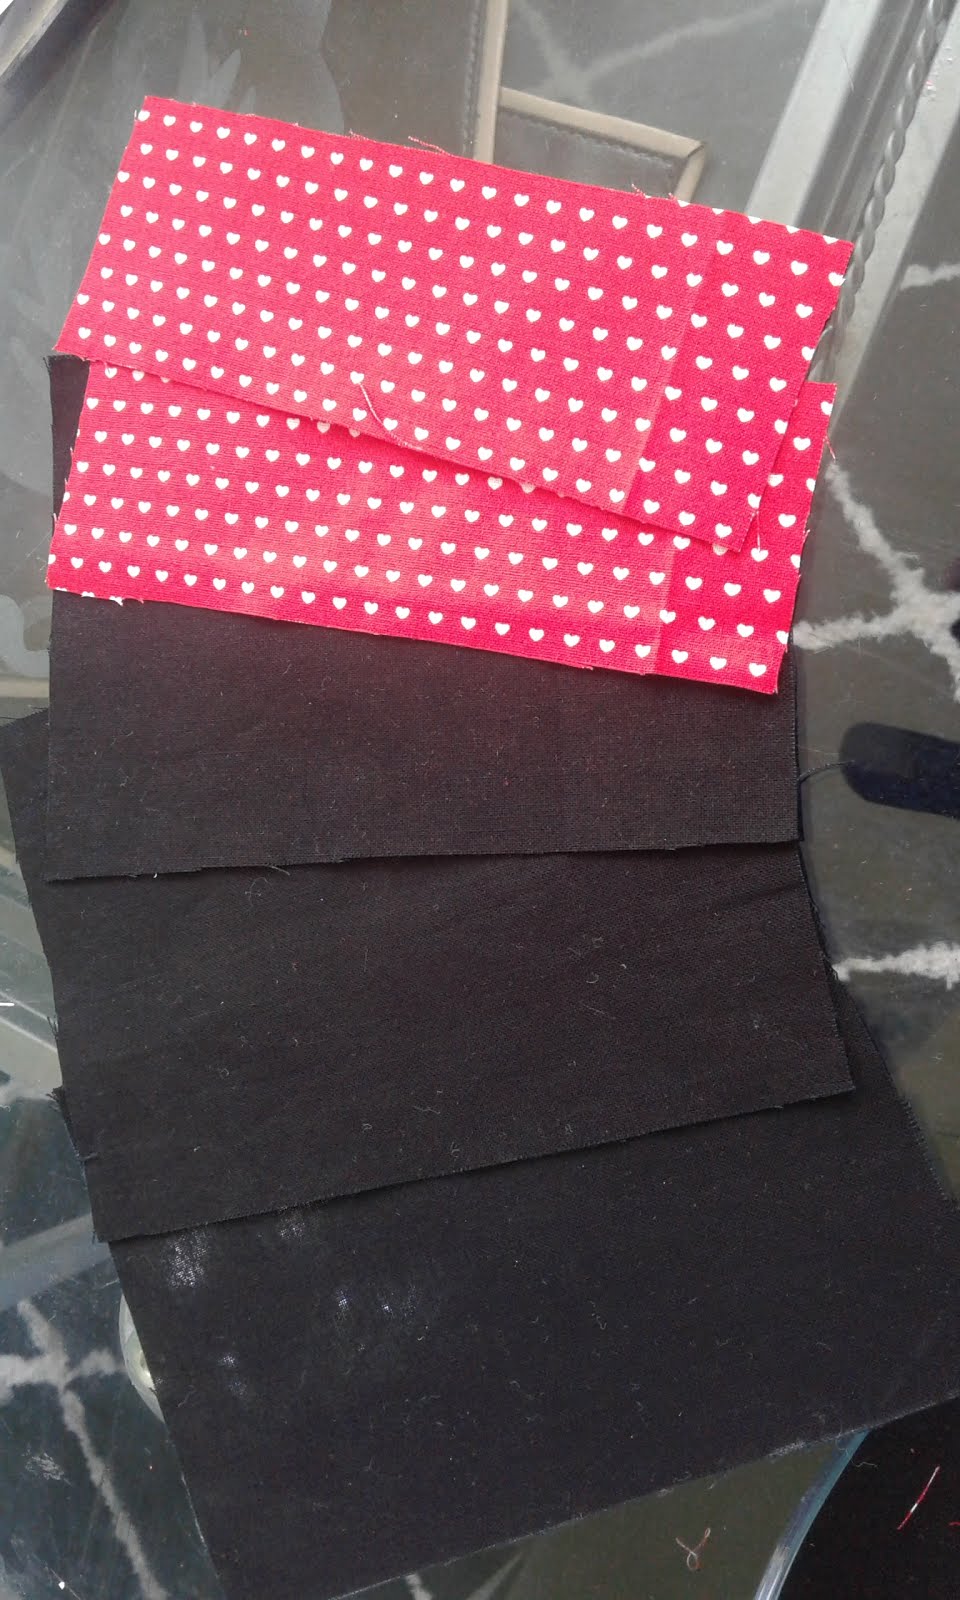
Once the brim pattern has been traced onto cardboard and cut out, choose a material of your choice to cover the cardboard brim with. Using fabric glue or a hot glue gun, glue your fabric to the cardboard brim.

Next, take the milk bottle cap and cover that with material. Glue it down. Once the milk bottle cap has been covered, push it into the center of the brim ( you may need to trim the center of the brim to find the bottle top)

Add your finishing touches, such as ribbons and bows :)


Setting the Scene


Upon my recent spurt of sewing Barbie clothes, it came to me that in order to display these clothes I needed a decent background.

I have always loved Barbies New Dream House, however I do not have one of these (I do hope to own one one day :) )


So, what does one do when one does not have something???? Create your own of course! Using a bit of cardboard and some paint, I got crafting.

I recreated Barbie's bedroom looking at photos of Barbies New Dream House. Of course its not exactly the same, a few touches of my own have been added. The end result is indeed, rather pleasing :)

I hope that if you are reading this post it will inspire you to get creating and maybe create your own background scene for Barbie.

The beginning of setting the scene. To make the lattice window, I cut out strips of cardboard and glued them on. 


At first I tried to paint this freehand, but soon discovered that trying to do straight lines freehand is very difficult! Out came the masking tape!


To make the curtains a template was made first


The end result!